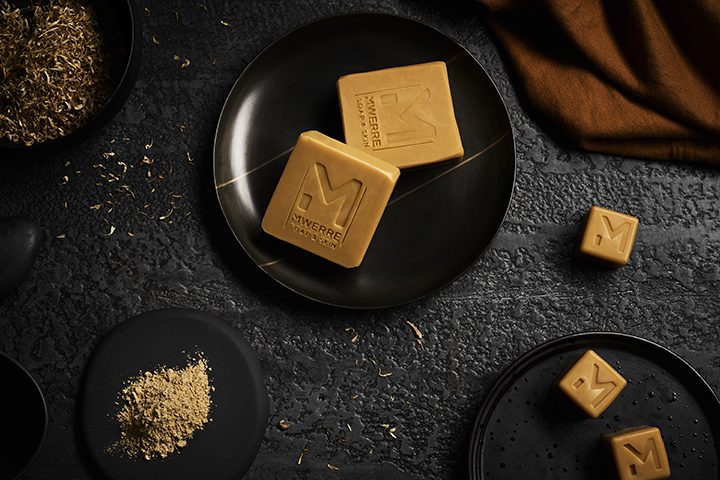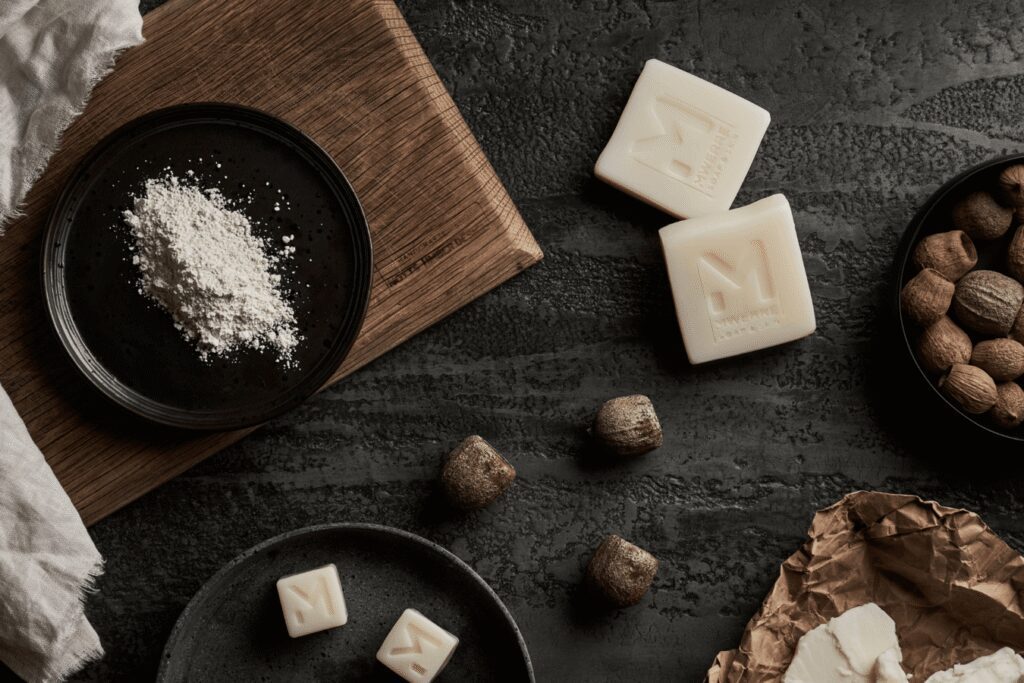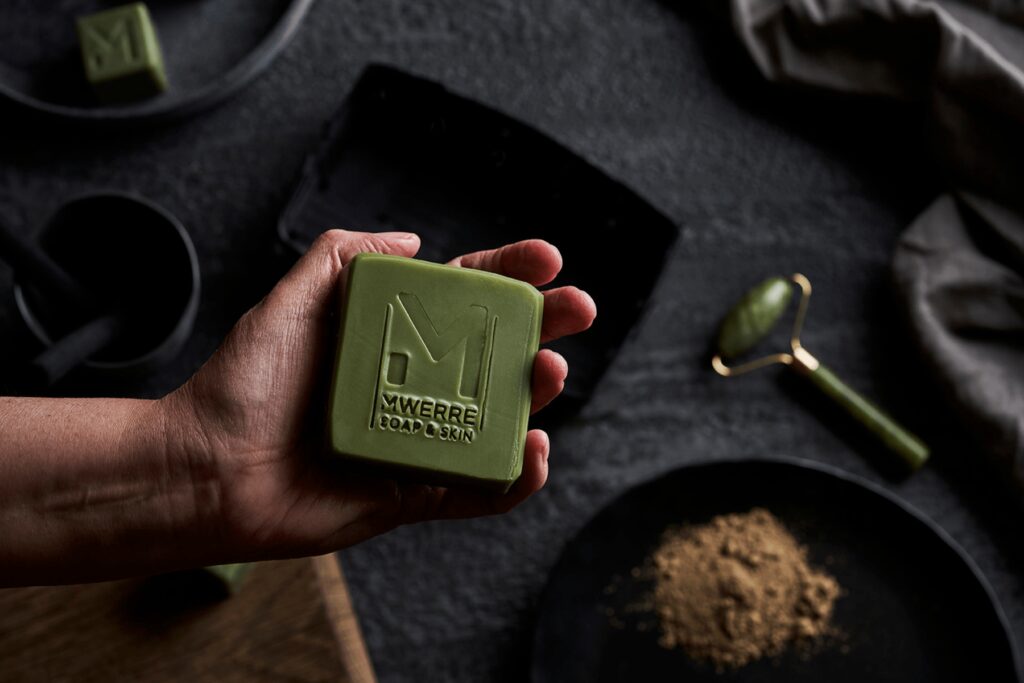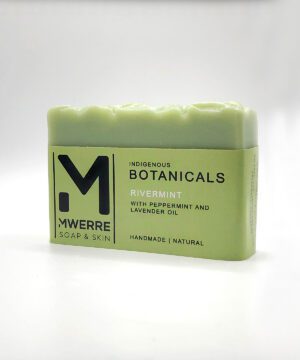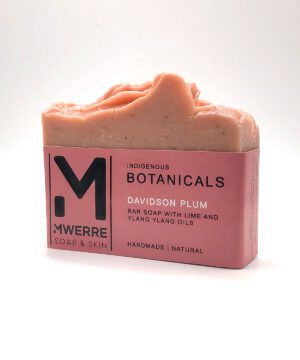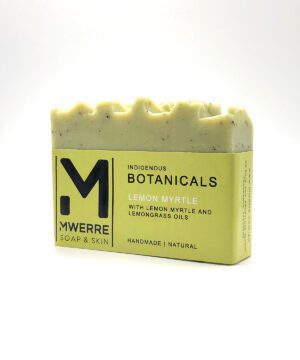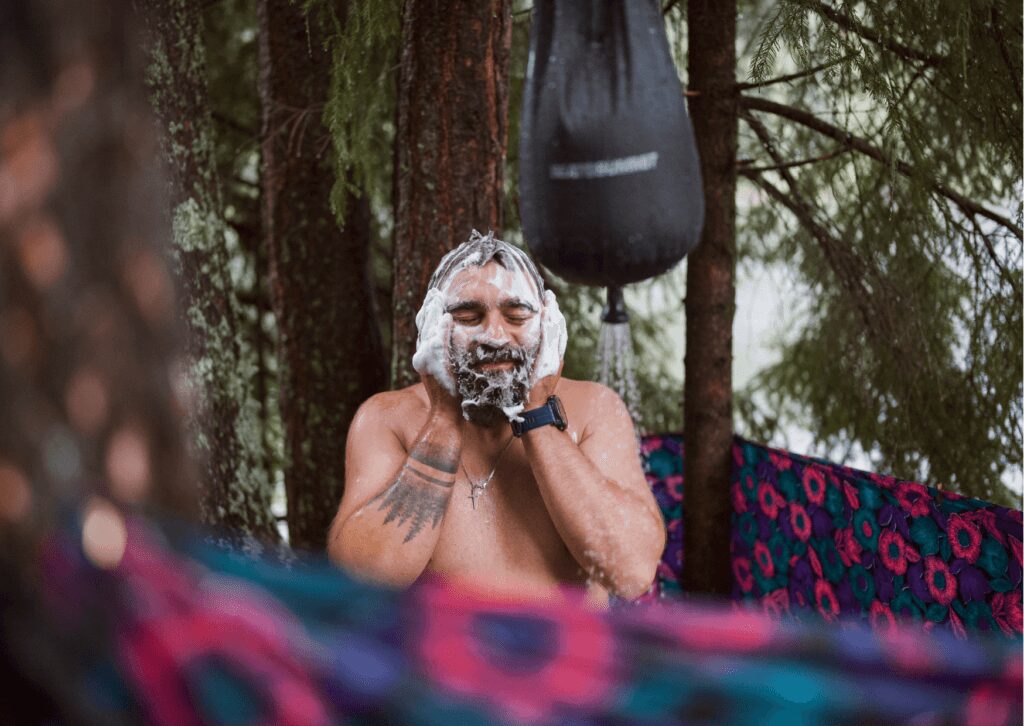
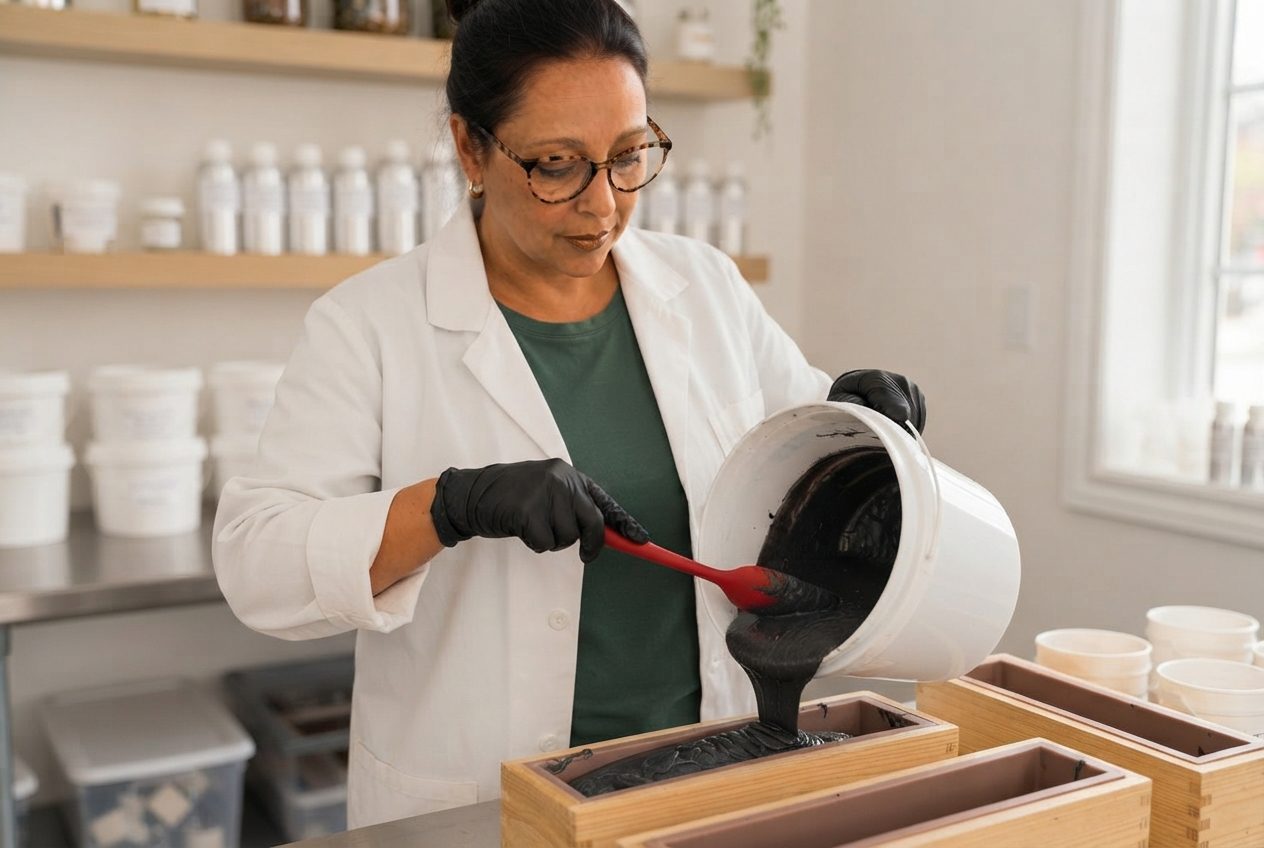
When you unwrap a bar of Mwerre soap, you are holding something made entirely by hand — measured, blended, poured and cut with care in small batches. No two bars are identical. That is not a flaw in the process, thats what to expect from handcrafted soap; it is the nature of genuine artisan soap manufacturing.
Mass-produced soap, manufactured by machines under tightly controlled factory conditions is designed to produce a uniform, machine-perfect result. Handcrafted soap is different. It is a living product, one that responds to the ambient temperature of the room it was made in, the humidity of the day, the natural variations of plant-based ingredients, and the subtle differences that occur between each batch pour and cutting. Those differences are worth celebrating!
So you can feel confident in the quality of every bar, below are some of the perfect imperfections you may notice on a handmade soap bar.
What You Might Notice and Why It Happens
Soda Ash
You may notice a pale, chalky or powdery white layer on the surface of your soap, most often on the top of the bar. This is soda ash: a naturally occurring reaction between unsaponified lye and carbon dioxide in the air that may occur during making and over during curing.
Soda ash is completely harmless and has no effect on the performance or quality of your soap. It simply happens when soap is exposed to air before it fully sets, and is particularly common in soaps made with certain oils or soap made at cooler temperatures.
It is generally easily washed away with warm water, or removed with a damp cloth. Once you begin using the bar, it will disappear on its own.
Glycerin Rivers
The amazing feature of hand manufactured soap is it retains all of its naturally occurring glycerin, a skin-softening humectant. (A humectant is a hygroscopic (water-attracting) substance used to retain moisture). Glycerin is so good for your skin, its often extracted and sold separately in commercial machine-made soap manufacturing, which is another reason to buy hand-manufactured soap. When the soap is setting, glycerin can sometimes migrate and form translucent or white lines, streaks or pockets within the bar and running through the soap.
Glycerin rivers are a sign that your soap is rich in natural, skin-loving glycerin. They do not affect lather, scent or efficacy in any way.
Sweating
If your soap becomes sticky or develops small droplets of moisture on its surface, particularly in warmer weather or high humidity, this is known as glycerin sweating. Again, this is the glycerin in your soap acting like a humectant and drawing moisture from the air around it.
It is perfectly normal and resolves on its own once humid conditions change. Store your soap in a cool, dry place away from direct humidity. Keep your soap in an airtight container or wrapped until ready to use if in high humidity. Store on a draining soap dish to keep your soap dry.
To remove stickness or sweating, you can wipe the soap with a dry cloth or wet the soap wash the glycerin away.
Small Clumps or Specks of Clay
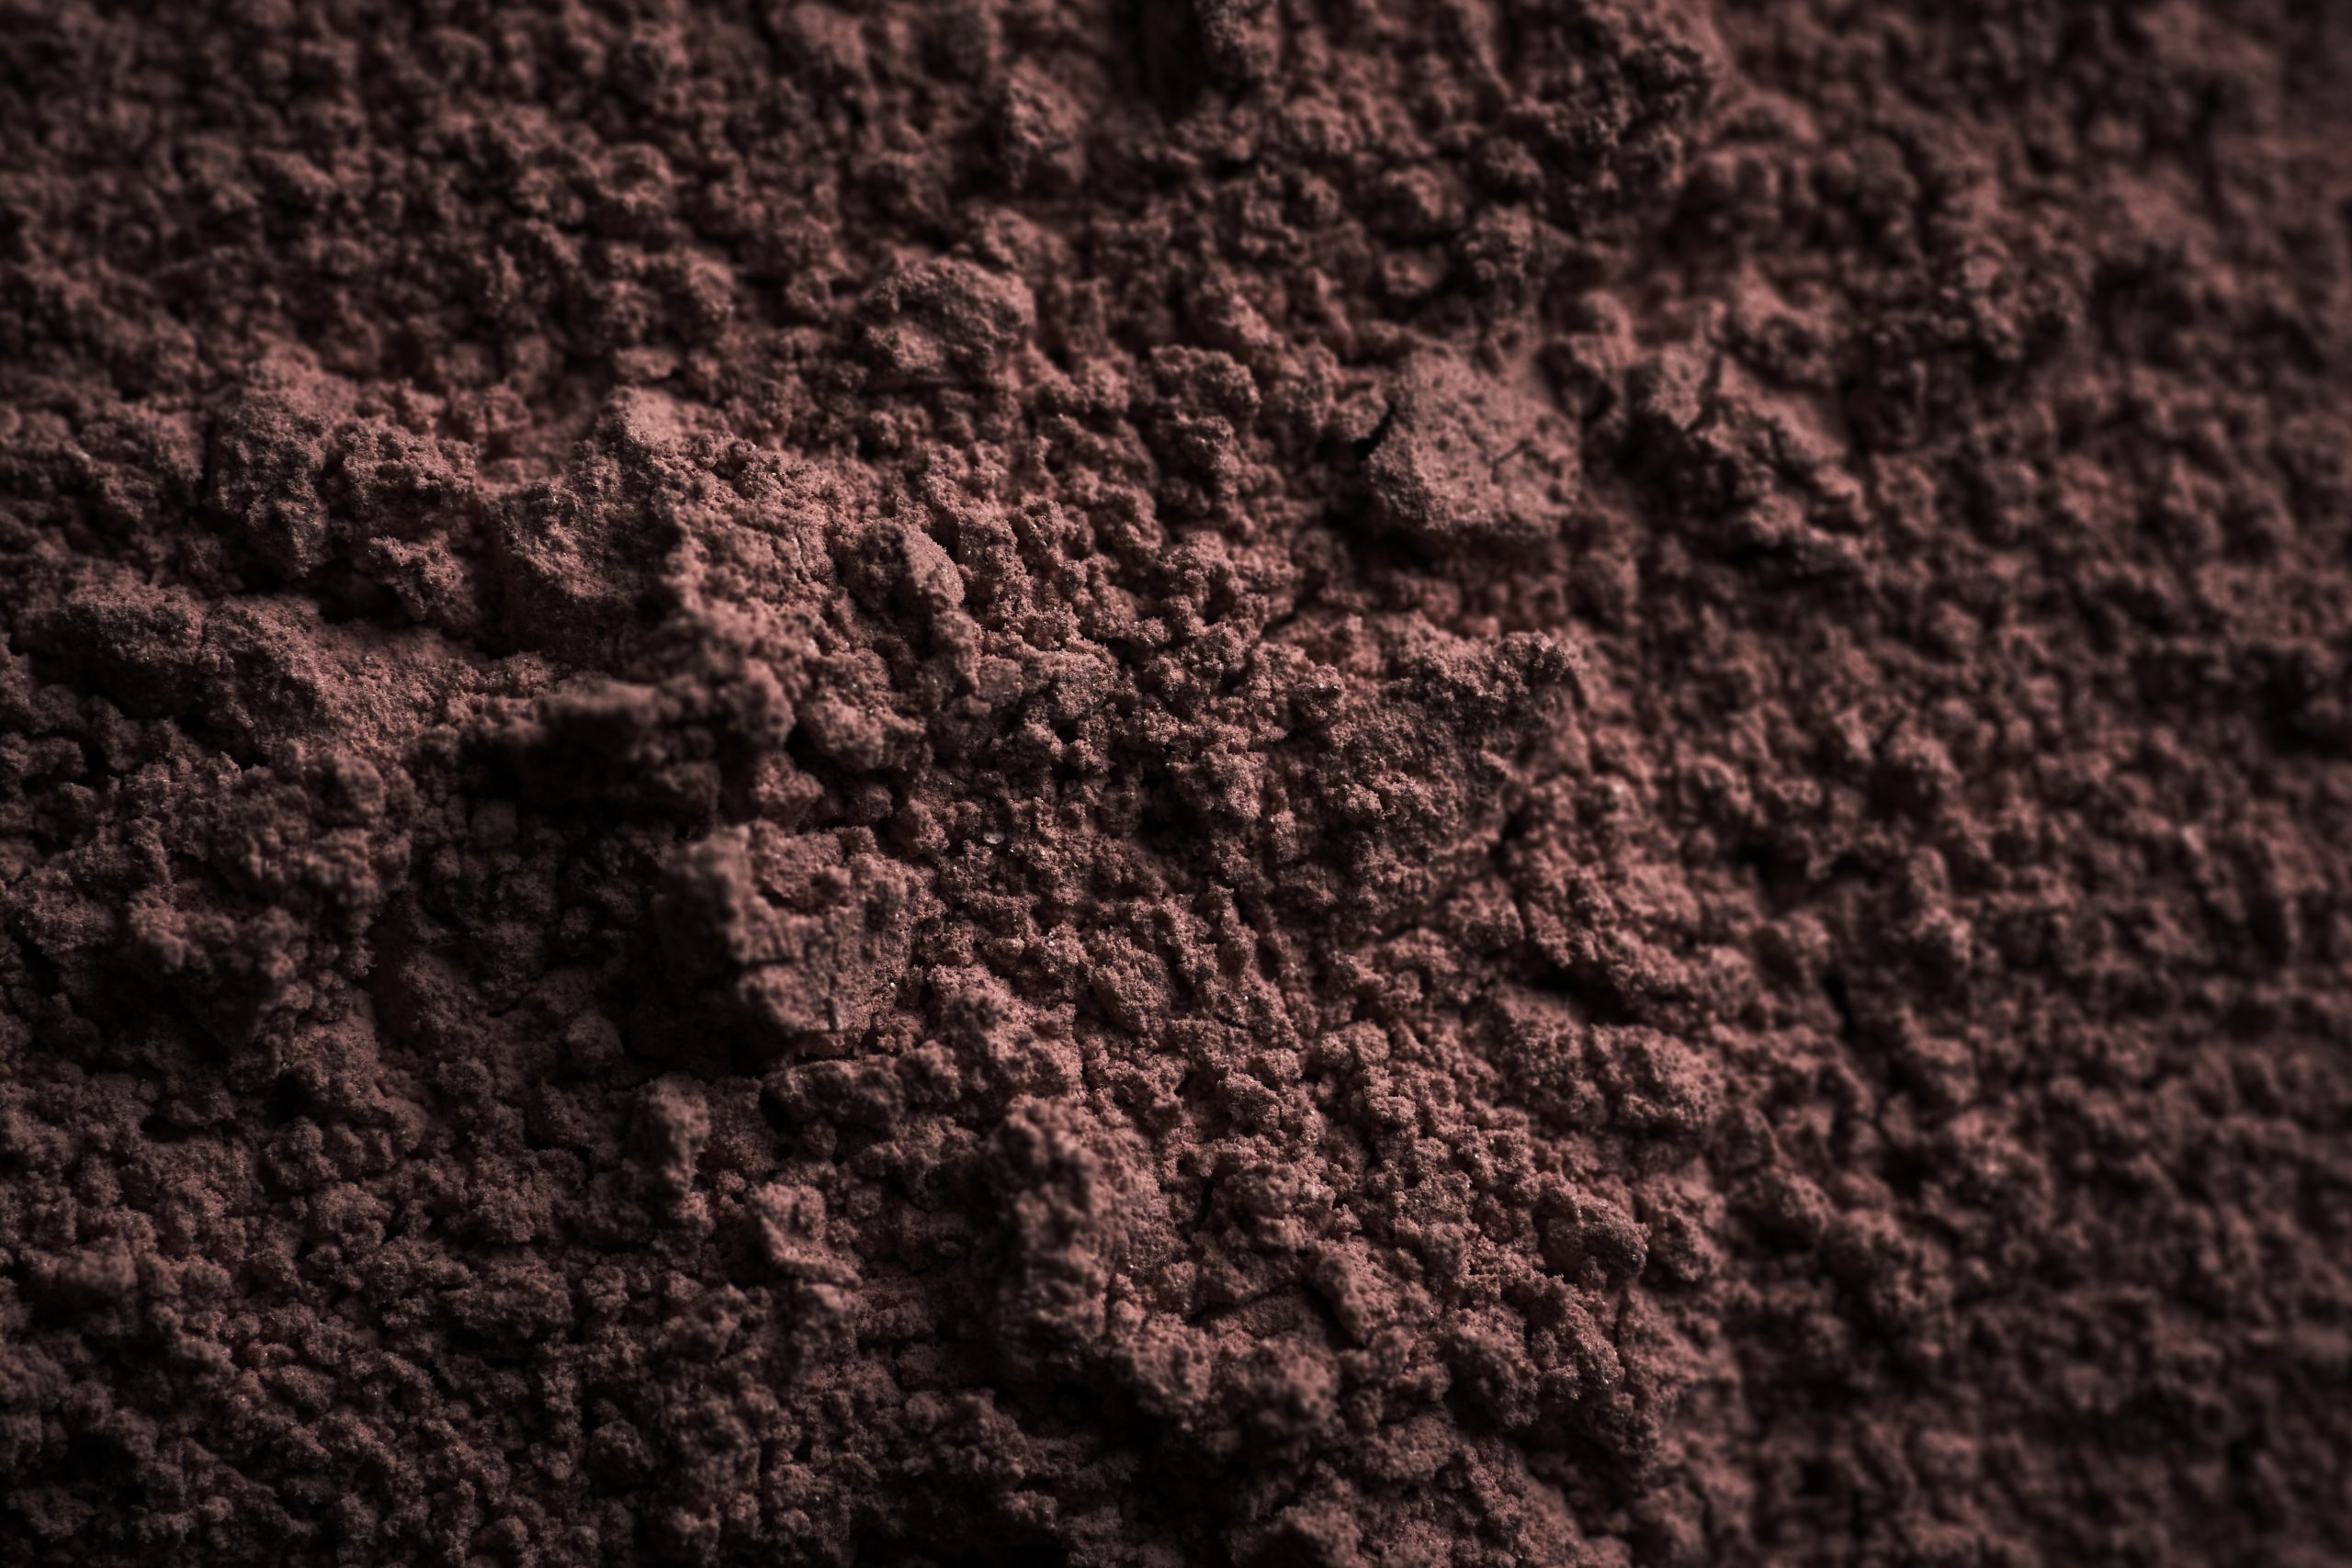
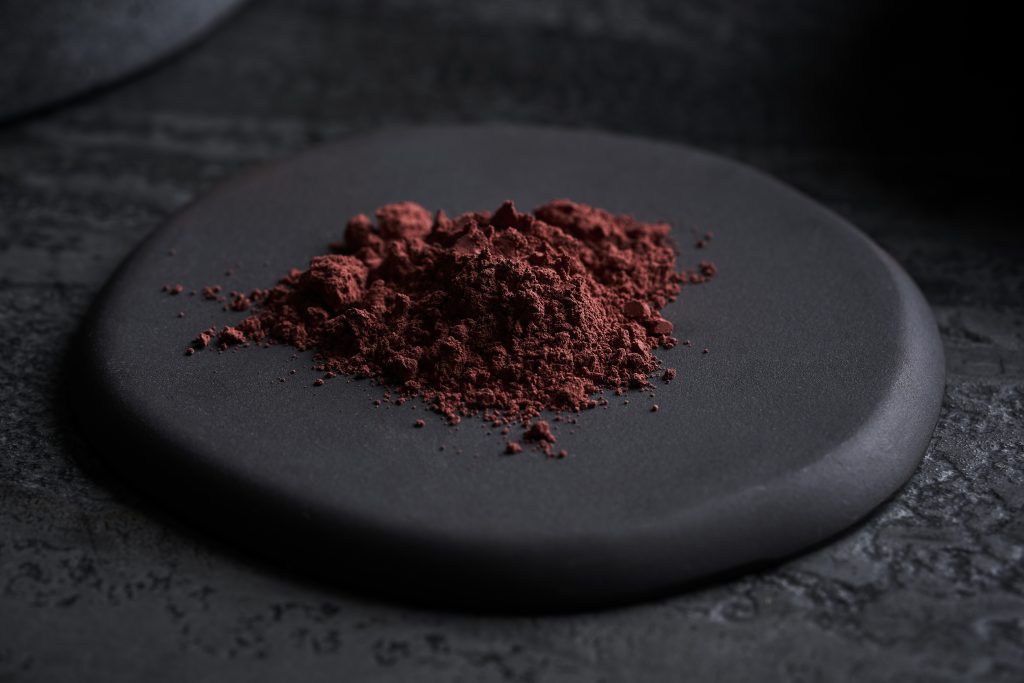
Several Mwerre soaps include Indigenous clays, kaolin and clays inspired by the colours of Country. Clay is a natural mineral ingredient, and sometimes during making, small clumps or flecks may be retained in the soap and be visible within the bar or on its surface.
These are simply a characteristic of working with natural, clay that likes to clump. The clay will disperse fully as the soap lathers and causes no irritation to skin.
Uneven Colour or Swirling
Nature derived colourants including clays, plant powders and mineral pigments, do not always behave the same way twice. You may find bars are slightly different in colour or tone from batch to batch depending on the natural variation within the ingredient itself and where it is sourced from.
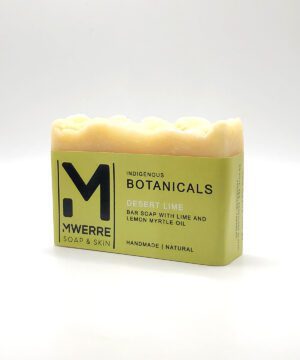
What this means for you: the bar you receive may look slightly different from the one photographed.
Small Air Bubbles or Pockets
Occasionally, air pockets or small bubbles may appear on the cut surface of a soap bar. These occur when air becomes trapped during pouring when the soap thickens as it is poured into molds or when air is introduced into the soap when blending. They do not affect the soap’s performance in any way.
White Spots
You may occasionally notice small white dots or bumps on the surface or cut face of the soap. These are commonly known as stearic spots, and they appear when stearic acid, a naturally occurring fatty acid found in many plant-based oils and butters, including shea butter, appears during the cooling and setting process.
Stearic spots are entirely harmless and have no effect on how your soap performs. They are simply a characteristic of working with rich, butter-based formulations and tend to be more visible in soaps with higher concentrations of these nourishing ingredients.
Cracks on the Surface
Occasionally a bar may develop small cracks across the top of the bar, most often a single split running along the surface after the soap has been cut and is beginning to cure. This typically occurs when the soap heats up too quickly during the setting process and saponification, a natural exothermic process where the oils and lye generate their own heat as they transform into soap.
In soaps that contain charcoal, this internal heat can be more pronounced, making surface cracking slightly more likely. Temperature shifts in the curing environment can also contribute.
Cracks are purely cosmetic. The bar is fully formed and performs exactly as intended. Think of it the way you might think of a rising loaf of bread or when baking a cake, the crust or top may split as it rises, releasing heat as it sets, but what is inside is unchanged.
Slightly Irregular Shapes or Cut Lines
Each Mwerre bar is hand-cut and processed. Our soaps are not stamped or pressed by machine. Cut lines may not be perfectly straight, bars may vary slightly in weight, and edges may be gently uneven. We do trim our bars during the finishing process, but small variations remain and we consider that a mark of handcrafted artisanal soapmaking.
A Note on Curing
All Mwerre soaps are cured for a minimum of four to six weeks after making. During this time, the saponification process completes, with water evaporating from the bars over time and as a result, the bar becomes firmer, milder and longer lasting. Some of the variations described above, are most visible in the early stages of curing and lessen over time.
We cure our soaps so that what reaches you is a finished and genuinely effective product. The curing process in the first four weeks not only helps the bar to harden, it helps it become milder on the skin, You may find additional storage of the soap may further improve its hardness and its mildness.
What Imperfection Actually Means
In a handcrafted context, imperfection is not the opposite of artisinal quality. It is evidence of it.
The variations you see in a Mwerre bar are the marks of a product made by human hands, with natural ingredients, in small batches. They tell you that ‘we make these bars’ and no cutting corners occurred, no synthetic stabilisers were added to force uniformity, the soap is not a hard detergent – its real soap that is a result of the saponification of oils and water through a cold-process mathed of soap-manufacturing and no part of the process was handed over to a machine.
Every bar is made with intention. Every variation is a reflection of the process.
Caring for Your Mwerre Soap
To get the most from your bar and extend its life:
- Avoid direct sunlight for extended periods. This can fade natural colours.
- Use a draining soap dish, rack or soap saver that allows water to run away freely between uses
- Keep your soap dry between uses — waterlogged soap softens and dissolves more quickly
- Store unused bars in a cool, dry place — away from humidity in the air in a linen cupboard or drawer is ideal
- Allow your soap to air between uses rather than leaving it sitting in a wet dish